Brass Tacks
Furniture Painting FAQ and FREE PDF
First things first........ what are you painting? Not necessarily what piece of furniture, but what is the current condition like? Is it raw wood, it is stained and sealed, has it already been painted, is it wood or press board or metal?
Second.... before you begin prepping you'll want to have a plan. We think the best way to go about this is to have an inspiration photo of what you would like the finished piece to look like. Will it be completely painted or did you want to re-stain the top? Are you keeping the existing hardware or do you want to replace it?
There are no wrong answers to these questions, it's just important to sort them out before you get started. Then you'll be sure steps get done in the right order and you won't end up doing things twice. Cause ain't nobody got time for that!
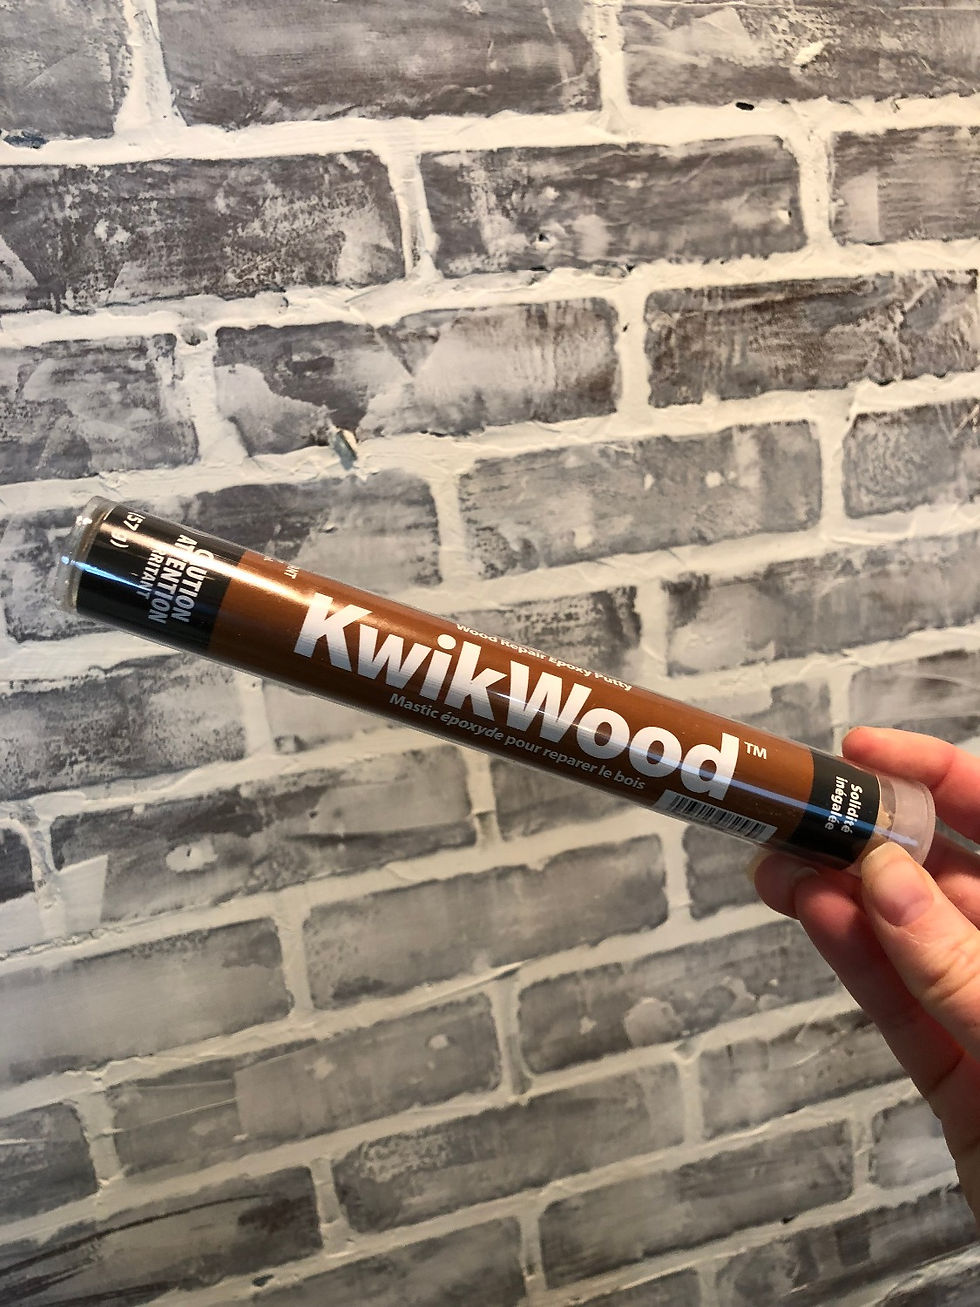
Step 1: Remove all hardware. If you are going to replace the hardware and will not be able to use the existing holes you will want to fill these holes now. We LOVE KwikWood for filling holes and any missing veneer spots. Allow the Kwikwood to dry completely before moving onto step two. (Typically about 30 minutes)

Step 2: If your piece is smooth raw wood, laminate, metal, or press board you can skip this step.

For finished wood pieces:
You'll want to lightly sand your piece with an 80-120 grit sand paper. 80 if it is very shiny and has a heavy top coat. 120 if it is less shiny and has a thinner top coat.
You want to sand enough to slightly ruff up the surface of your piece. The goal is NOT to remove the entire existing finish (unless you are planning to stain that part).

For Already Painted Pieces:
Re-painting pieces that have an existing paint finish can be a bit trickier to get a nice smooth new finish. It's also important to remember that if you plan on distressing the new finish you will most likely see the old finish color when you distress it.
If your piece's existing paint is chipping and flaking you'll want to sand it down really well until there is no more chipping and flaking. You'll also want to smooth out any edges around the chipping areas as much as possible so these don't show through on your new paint job.
Step 3:
After sanding your piece well (or if you skipped step 2) you'll need to clean your piece. Some common used cleaners include TSP, denatured alcohol, warm soap water, or mineral spirits.
We prefer a heavy concentrated TSP solution. You can buy TSP in powder or liquid form. We use the powdered version of TSP because it's less expensive and we are in control of how much powder goes into the water.
Use your preferred cleaning solution to make sure you remove all dirt, grime, and dust from the piece.
Step 4:
Prime or shellac your piece. This step is optional but we highly recommend doing it if your piece has a very red toned wood or if you are painting your piece white or a lighter color.

Any piece that we paint white we prime with two coats of General Finishes Stain Blocker. It's expensive but worth every penny. It is not only a stain blocker but also a primer so you don't have to worry about yellowing after you apply your topcoat.

If we aren't painting a piece white but it is still going to be a lighter color or the wood has a red undertone we seal it with 2-3 coats of Shellac. Shellac is a clear sealer coat that will help prevent wood tannins from bleeding through.
Step 5: Paint your piece. We always apply 2 coats minimum of our final paint color. Sometimes another coat if necessary.
Step 6: For greater durability we recommend sealing your piece with a top coat. We typically use General Finishes High Performance Top Coat in satin.

And Boom...........just like that you'll have a fantastic piece of furniture you will want to show off to all of your friends and family and say "Look what I did!!" It really is one of the best feelings in the world!
As promised here is the FREE PDF of this process! ENJOY and HAPPY MAKING!


ความคิดเห็น